
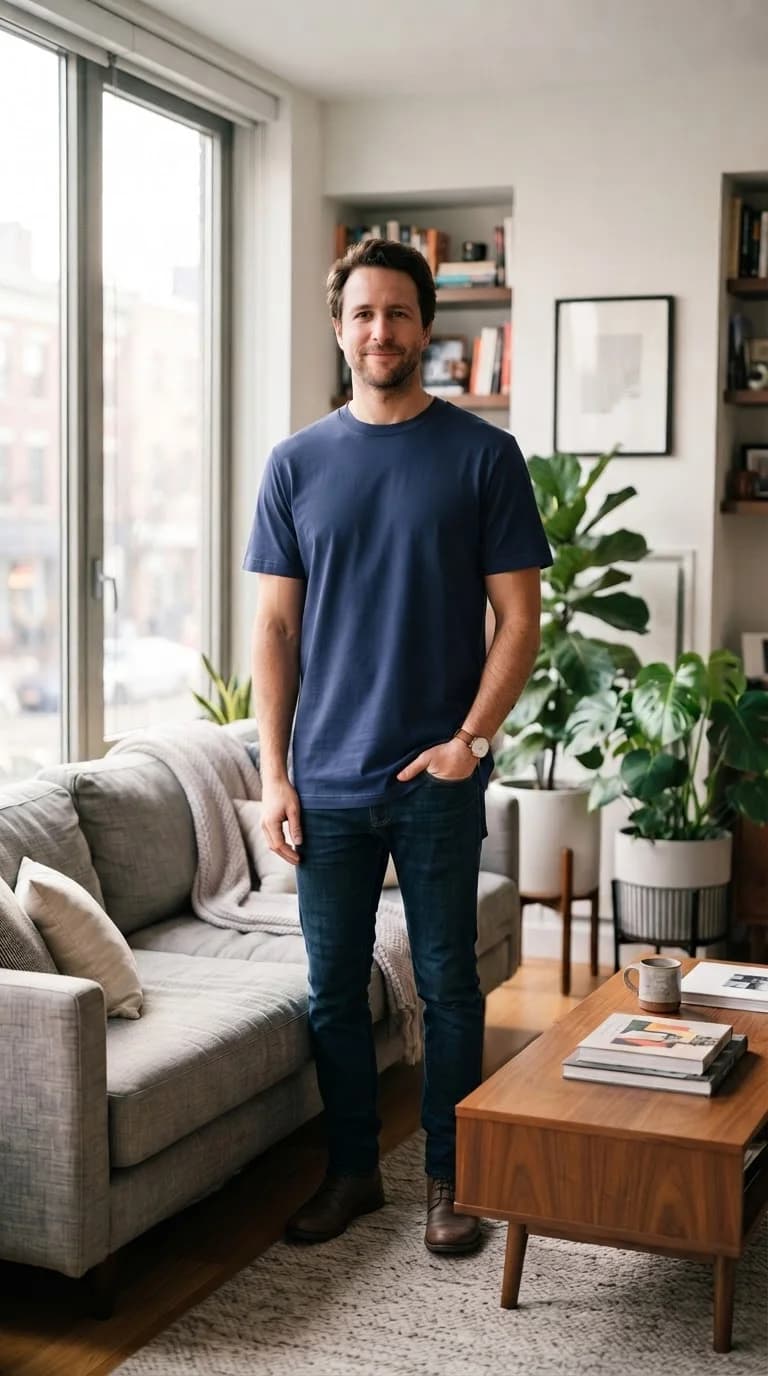
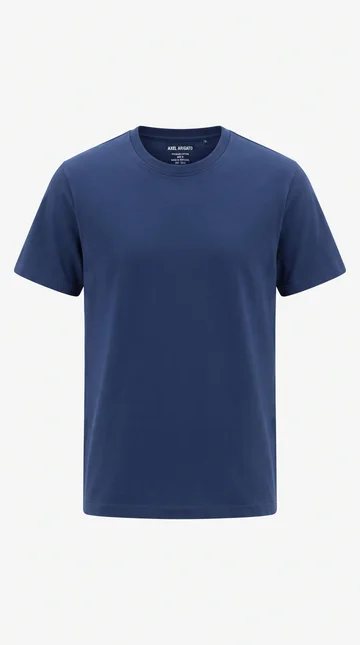
Men’s T-shirt — After
Men’s T-shirt
Try it for free1. The Optical Science Behind Neural Garment Synthesis
VirtuStyle AI uses a person image and a garment image to generate an outfit preview. It does not build a calibrated body scan or measure the physical properties of the fabric.
Blur, deep shadows and objects covering the body can make details ambiguous. When the model fills in missing information, it may introduce artifacts or change parts of the garment.
A clear photo can improve the input. It cannot guarantee a professional-looking result or preserve every seam, pattern and facial detail.
Compare each result with both source photos before deciding whether it is useful.
2. Camera Height and Distance: Banishing Perspective Distortion
The single most destructive error in virtual fitting photography is holding the camera at eye level while pointing downwards towards the feet. Due to wide-angle lens perspective, this steep downward tilt compresses your lower limbs, exaggerates head size, and distorts the vertical distance between shoulders and waist.
The golden rule of virtual fitting photography is the Chest-Level Horizon: mount or place your smartphone precisely at the midpoint of your torso—approximately 1.15 to 1.25 meters above the floor. Ensure the phone is completely vertical (90 degrees to the ground) rather than pitched forward or backward.
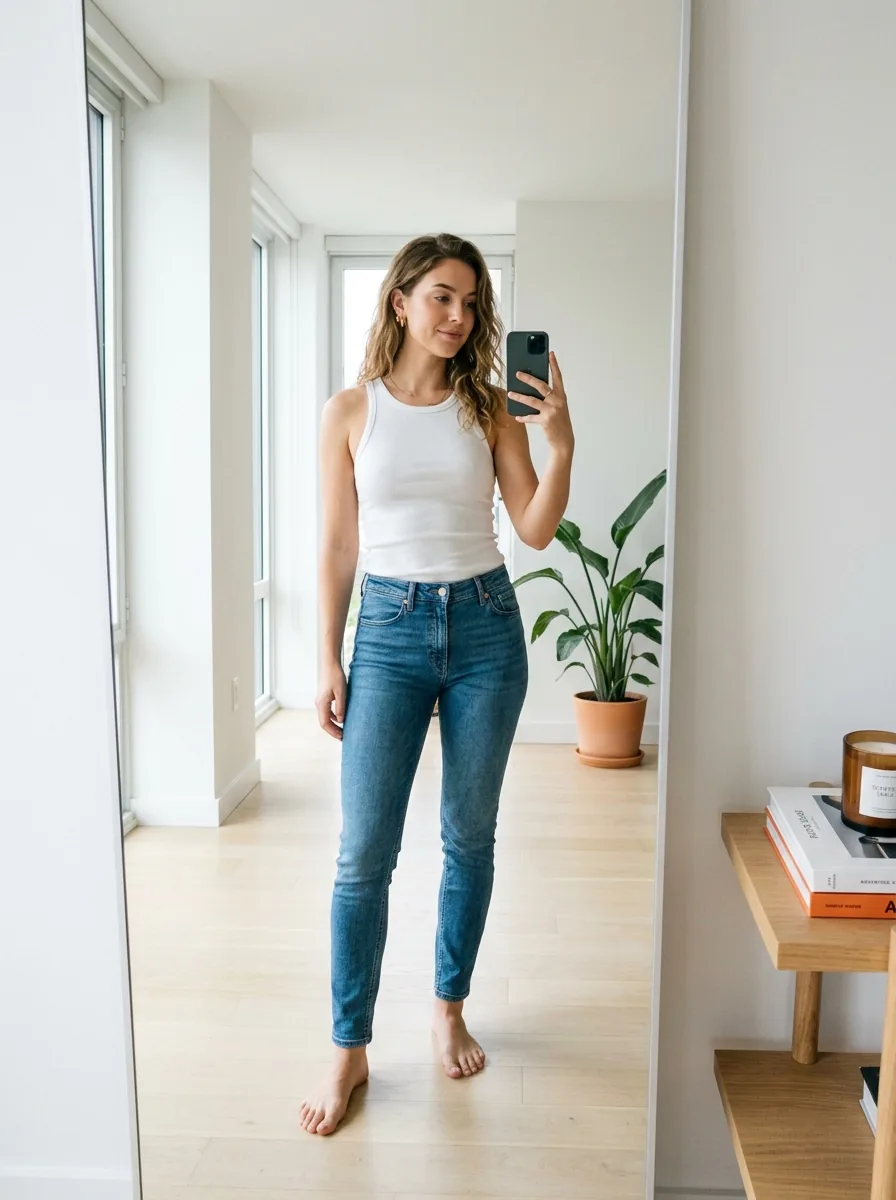
Step back until your entire body—from the crown of your head to the soles of your shoes—occupies roughly 75% to 80% of the vertical frame height. Typically, this requires a distance of 2.2 to 2.8 meters. If space is tight, set a 10-second timer on your phone and rest it on a bookshelf rather than attempting an awkward arm-extended mirror selfie.
Using the standard 1x camera lens (equivalent to 24mm-28mm focal length) at this distance keeps peripheral optical distortion below 2%, delivering ideal proportions to the AI model.
- Camera height: 1.15m to 1.25m (mid-chest level).
- Distance from lens: 2.2m to 2.8m for full-body framing.
- Phone angle: Strict 90-degree vertical alignment (no tilt).
- Subject clearance: 15cm margin above head and below shoes.
3. Lighting Mastery: Soft Diffusion vs Hard Shadows
Lighting dictates how the neural network interprets surface volume. Direct overhead ceiling spotlights cast harsh black shadows under the chin, chest, and pelvic fold, causing the algorithm to misread torso depth and waistline transitions.
The ideal illumination source is soft, diffused natural daylight entering through a large window. Position yourself facing the window, with the camera positioned between you and the light source. This front-facing diffused light creates gentle gradient transitions that reveal true anatomical contours without specular blowouts.
If shooting at night or in a room without ample daylight, use two soft LED floor lamps placed at 45-degree angles on either side of the camera. Avoid direct flash photography, as intense point-source flash flattens the image into a 2D plane and destroys subtle fabric sheen nuances.
Ensure your background is relatively uncluttered and painted in a contrasting neutral tone—such as off-white, light gray, or beige—so the neural segmentation model can cleanly separate your silhouette from wall decor.
4. Photographing the Garment: E-Commerce Shots vs Flat-Lays
When uploading clothing items to try on, the source image quality directly determines the fidelity of fabric rendering. Clean e-commerce catalog images with pure white backgrounds are ideal, but you can also photograph real garments from your wardrobe or boutique displays.
When photographing a garment yourself, lay it completely flat on a clean bedsheet or neutral floor. Smooth out all unintentional wrinkles, align the shoulder seams symmetrically, button the collar, and ensure sleeves rest naturally alongside the torso.
Photograph the garment from directly above (birds-eye flat lay perspective) with uniform overhead light. Ensure both left and right sides are captured with equal brightness so the neural network can reconstruct identical textile textures across both hemispheres.
If the garment has intricate details—such as contrast stitching, mother-of-pearl buttons, or embroidered emblems—ensure the photo resolution is sharp enough for these macro textures to remain legible.
5. Posing and Silhouette Posture for Maximum Accuracy
Your posture in the reference photo serves as the structural skeleton onto which virtual clothing is rendered. Adopting an extreme fashion pose—such as crossed legs, hands buried in pockets, or twisted shoulders—obscures key measurement zones.
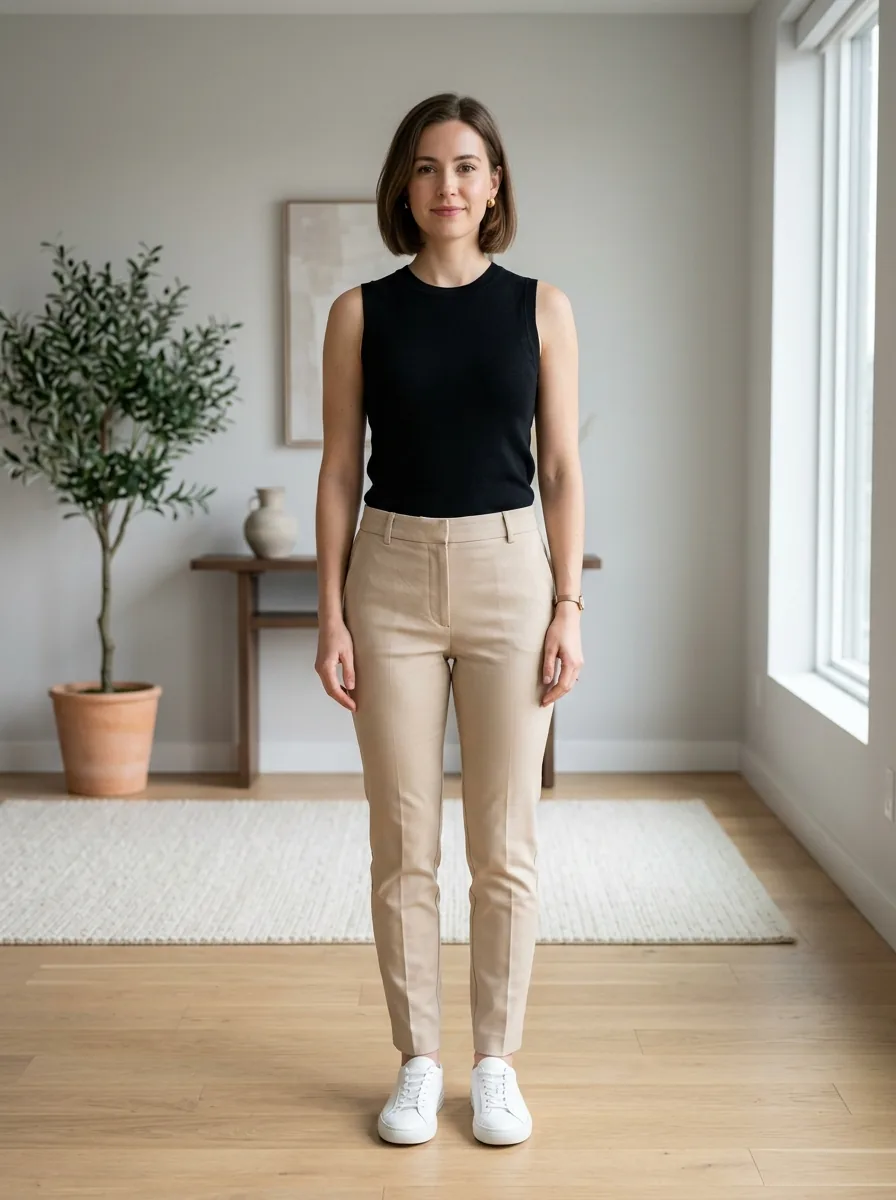
Adopt the Balanced A-Pose: stand upright with relaxed shoulders, weight distributed evenly across both feet. Keep feet roughly 20 centimeters apart. Let your arms hang naturally with hands held roughly 10 to 15 centimeters away from your hips, ensuring clean visual daylight between arms and torso.
Tie long hair back if trying on jackets, collars, or dresses with high necklines, allowing the AI to accurately position the collar around the neck without hair occlusion.
Wear simple, non-bulky clothing so the outline is visible. The model may still infer hidden areas incorrectly.
Frequently asked questions
Can I use mirror selfies for AI virtual try-on?→
You can explore outfits using clear, unobstructed photos as a visual preview. Generated details and colours can differ from the actual garment. This tool cannot verify measurements, tightness, support or comfort; check those with the seller.
Does my reference photo need to show my shoes?→
You can explore outfits using clear, unobstructed photos as a visual preview. Generated details and colours can differ from the actual garment. This tool cannot verify measurements, tightness, support or comfort; check those with the seller.
What resolution should my photo be?→
Standard smartphone photos (12 megapixels or higher, typically 3000x4000 pixels) provide exceptional detail. Avoid heavily compressed screenshots from messaging apps.
Can I try on clothes if my background is cluttered?→
You can explore outfits using clear, unobstructed photos as a visual preview. Generated details and colours can differ from the actual garment. This tool cannot verify measurements, tightness, support or comfort; check those with the seller.
What to remember
How to Photograph Yourself & Garments for 100% Accurate AI Virtual Try-On. Use the practical checks above to shortlist options, then verify size, materials and comfort with the seller. A virtual preview can help you compare appearance, but cannot guarantee fit or replace a physical fitting.